
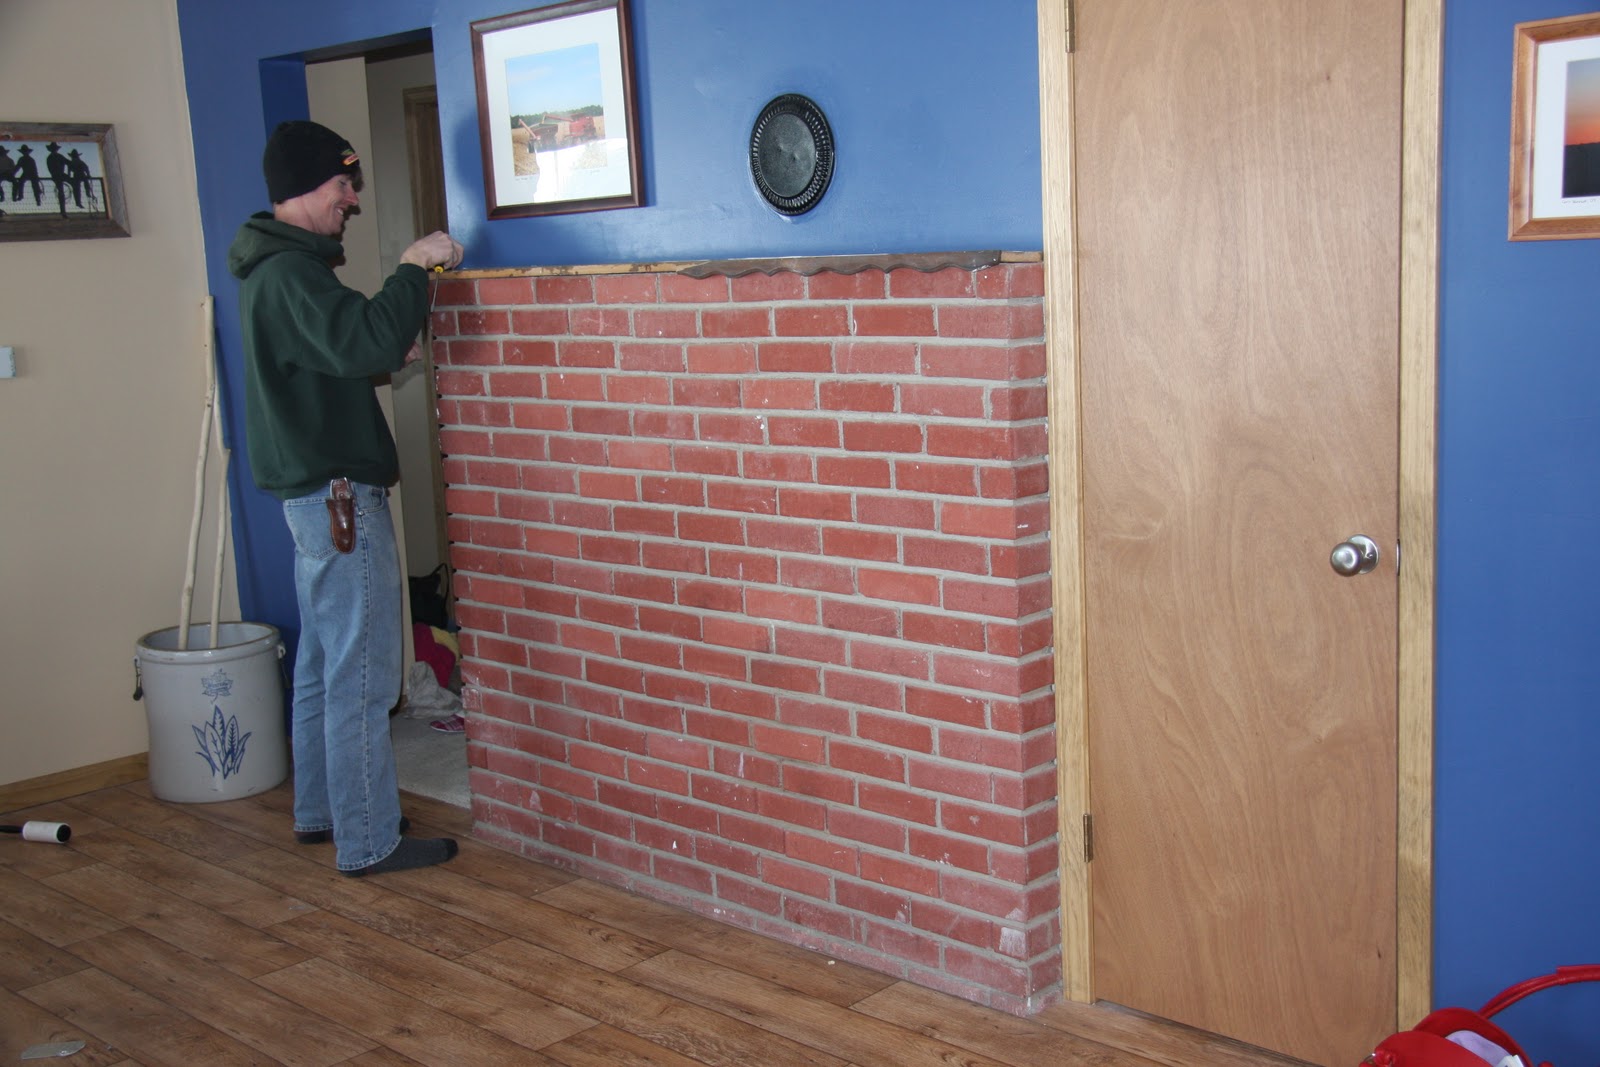
It was used by the previous owner to protect the wall from a little wood burning stove and since we don't have a stove for here and aren't going to get one I have no use for this wall.
Well it wasn't till this past fall that I found out that this wall didn't have to be there and it could easily be moved and there was already dry behind it....
Why wasn't I told this back when we had the whole house tore apart, I could have had a plain and simple wall there...
Well when I found this out I decided that it was time for it to go, so when we were having a cabinet built for our chore bathroom we decided to have a shelf built to replace the brick wall too!!

Here it is one more time before we start tearin' things out.

The mantel that was on it had seen better days. We were kinda hard on it when we were workin' on the house.

The dry wall mudding next to it was terrible as well!!
"Mr. Gorbachev Caleb, Tear down this WALL!!!"

And look there's a wall.

Now you may be asking why build a shelf, why not just leave the wall bear and paint it?
Well ya see the wall isn't the problem here it's....

It's the floor where the wall once stood...
You could see underneath the house in places when we moved it and there was going to be hole in our flooring where it had stood so we needed something to cover the hole.

There were pieces of the old linoleum still under it....
I'm don't know why we ever changed the flooring cause that stuff was just beautiful...
Ummm no it wasn't...


So things are never easy when it comes to workin' on this house. WE had to remove some of the wall to fix the terrible bow that was in the wall. Apparently the guys we had doin' the drywall here don't know how to use a level cause they added spacers to make this wall bow out like crazy. So Caleb got to do some work with power tools....

After he got the bow in the wall fixed it was time for the mudding and the painting...
I don't know why I am showing you a picture of Caleb doin' this cause what you see here was all he did when it came to the mudding and the painting...
I did all of these steps cause well I am more particular and careful so it's better if I do it!
Once we got all that done it was time to do the installing and here it is....

Isn't it beautiful!!! The worst part about it is that if we ever move some day it will have to stay with the house. :(
Boy does it make the room look different and boy do we love it!!!

We also got the cabinet made for the chore bathroom so we can finally get the sink installed!!!
We also get something else made to help solve another problem we have in this house...

My Pantry!
I is over flowing and a mess all the time not to mention that....

If you put two jars on the shelf they sag.
Just so you know I wanted wooden shelves when we built this and Caleb thought these wire shelves would work just fine. I didn't argue with him about this cause we hadn't been married all that long and I didn't want to start a war, but....
In the end I was right and Caleb agrees that the wire shelves were not a good idea for someone who does as much canning as I do so....

He had a canning shelf built for me.
It was a little fancier than I planned but if we ever build a house with my extra sturdy pantry then we will turn this into a book shelf but for now...

it will hold all my canned goods as well as some of Caleb's stuff.


Now I would love to say my messy pantry is all better now, but I haven't had a chance to mess with it just yet, but it will be soo much better now that I will have a ton more space.
And now our house is done...
Well done good enough for me.
I hope you all have a wonderful week.
Catch ya later,
JP
LOVE your built in shelves, those are so awesome! Ya'll did great. And your canning shelf is spiffy, it will make a gorgeous book shelf one day, but until then, you're canned goods sure are stylin'. ;) I converted one of our hall closets into an extra pantry and did the wire shelving thing. Yeah, not so great. I need to put some stabilizers in the shelves, or something!
ReplyDeleteThose are gorgeous cabinets Janet!
ReplyDeleteOk, ok, I stand corrected! The shelves are an improvement over the brick wall. I'll try not to grieve too much over the cast aside bricks. Thanks for pointing out the fact that I was totally wrong! HaHa! It happens often round here!
ReplyDeleteLooks like you did a great job. Bet it was a lot of work. Love the canning shelves, by the way. Did you have a hard time waiting for the wood sealer to dry before you loaded them up?
Looks great!!
ReplyDeleteThose shelves are gorgeous!
ReplyDeleteThose shelves are amazing! By the way you have me listed in your side bar as Faded Country which I still am but my other blog got deleted on accident so if you want you can change the address so that you can actually get to me now.
ReplyDeleteThanks
Sarah
Gotta love old houses! I'm not sure how I stumbled upon your blog, but it's always nice to see more people from the Midwest blogging. Great pictures!
ReplyDeleteOh wow!! I am loving your remodel!!! And if that crock is ever missing don't come looking at my house! ;)
ReplyDeleteYou don't need so much 'head space' in your canning jars. Most times an inch from the lid is more than enough. Your beans can go up clear to the first line. Ok? I'm not meaning to sound picky, just trying to help. I've canned for 40 years now, plenty of experience. lol!!
ReplyDeleteThe shelves are great. But I had to make my own, so they were sturdy enough. I do a lot of canning and dehydrating.
Tianca
You don't need so much 'head space' in your canning jars. Most times an inch from the lid is more than enough. Your beans can go up clear to the first line. Ok? I'm not meaning to sound picky, just trying to help. I've canned for 40 years now, plenty of experience. lol!!
ReplyDeleteThe shelves are great. But I had to make my own, so they were sturdy enough. I do a lot of canning and dehydrating.
Tianca